How to Stitch: Step-by-Step With Pictures
Learn how to stitch step-by-step.
Stitch Step by Step
A simple basting stitch for hand sewing is really not hard once you know what steps to follow and what to look out for. This simple stitch will work to mend ripped cloth, sew on buttons, hand-sewing delicate areas in clothing construction, sew on lace or patches or embellishments, or complete simple sewing projects without a sewing machine.
Supplies Needed:
- A sharp needle that will pierce your cloth without making a large or noticeable hole (a needle is sharp at one end and has a hole at the other end; a pin has a ball or flat "head" and no hole).
- Thread (thin sewing string) that matches the main color of your cloth. Thread comes in different thicknesses: choose a thicker thread if you are sewing or mending thick cloth, such as denim, sturdy khaki, adventure/outdoor material, cloth handles or bag straps, etc. Thin (regular) thread is used for all other fabrics and purposes. If a thick thread is not available, you may double thin thread through the needle.

Double the thread through the needle for strength.

Roll the damp thread on your finger to tangle it in itself...

Then let it roll right off your finger in a tangled loop.
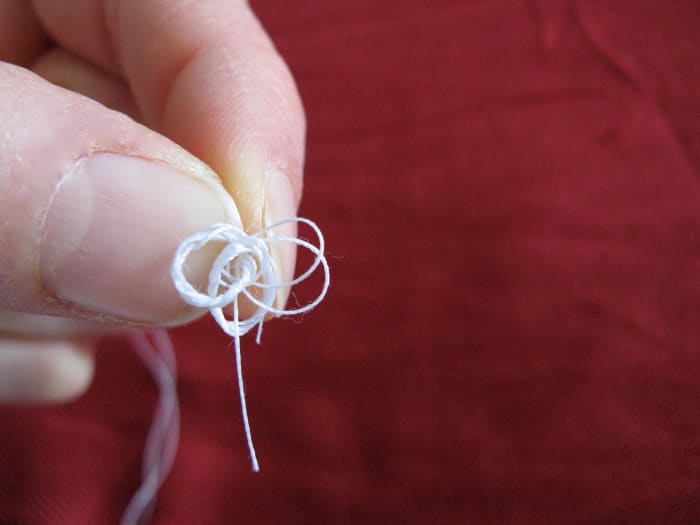
Run your fingers along the thread until the tangle catches on itself and becomes a tighter wad at the end of the thread.

The final result: a thick knot that won't pull through your fabric.
Threading and Knotting Your Needle
Steps:
- Cut a length of thread about two to three feet long. An easy measurement for a manageable length of thread is to cut a length that is twice the length of your forearm (from your hand to your elbow). It is important not to cut too long a length of thread, or you will risk getting it tangled, and the length will not be manageable as you try to find your way from stitch to stitch.
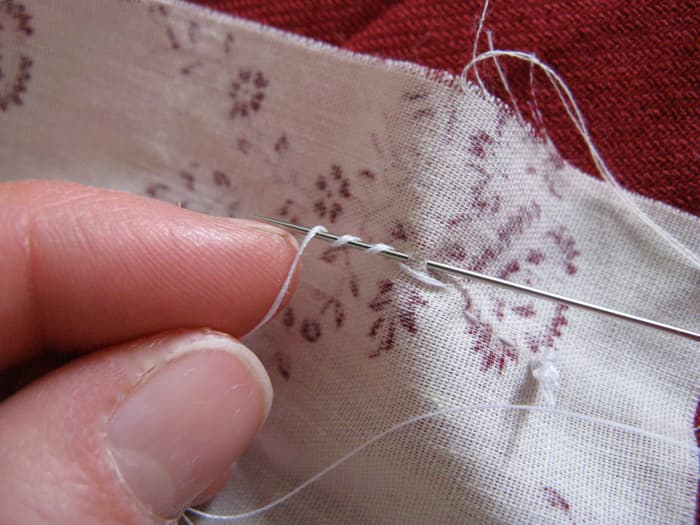
- Thread the needle by putting one end through the hole in the needle (the "eye" of the needle). I prefer to pull the thread through so that the needle is in the middle of the thread string, then pull the ends of the thread together so that the needle is dangling at the other end, thus doubling your thread and making it sturdier. You may not need to double your thread if you are sewing on very fine, fragile fabric, but in most circumstances, doubled thread ensures that you will not have to sew this seam again.
- Knot the ends of the thread. Though a regular knot or square knot will sometimes work, it is often not large enough to keep the thread from pulling all the way out of the fabric after your first stitch. A knot that always works is to wind the end of the thread opposite the needle three times around your pointer finger, lick your finger, then use your thumb to roll the thread around on your finger so that it tangles in itself.
When you pull it off your finger, use your thumbnail to slide the tangled mess to the end of the thread, pulling in a direction away from the end of the thread that has the needle. If you did it properly, a thick knot would form at the end of your thread. If not, you may need to try again until you can tangle the end of the thread enough so it creates a small "rat's nest" at the end of the string. Key in this is making sure you lick or dampen the thread on your finger so that it catches on itself and tangles.

Put your needle through the wrong side of the fabric...

and pull the thread all the way through until the knot tugs on the fabric and doesn't go through.
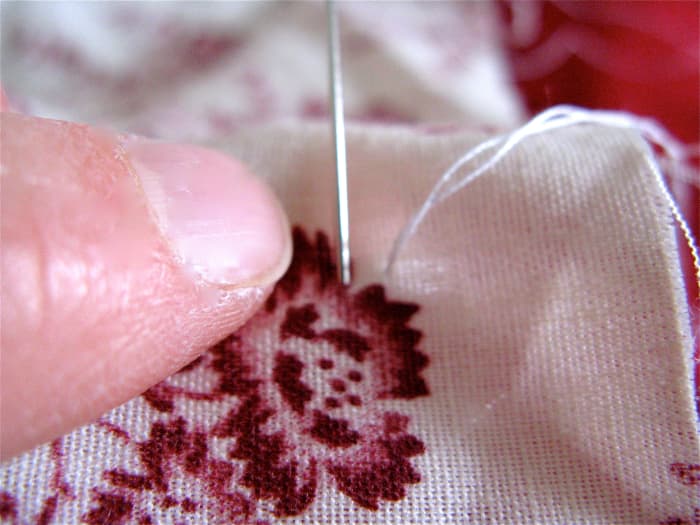
Your next stitch should enter the fabric on the SAME side the thread is coming out of (the right side).
Continue making your stitches evenly, entering the fabric on the same side your thread is coming out of.
Stitching in Cloth
Steps:
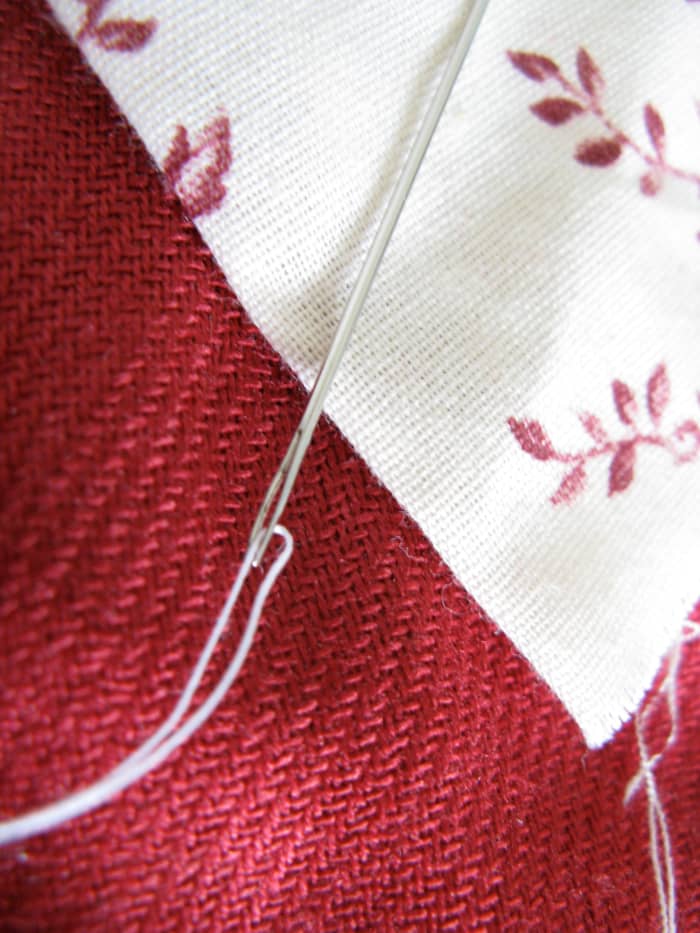
- Make your first stitch by putting your needle into the cloth on the wrong side of the fabric where your knot will not show. If you can, find a seam or an overlapping flap to lodge your knot where it won't be seen. Hold or pin the two pieces of cloth together, if possible, so that the fabric doesn't move while you place your first stitch.
- Pull your needle through the fabric to the other side until you feel the knot tug. Check the underside of the fabric to make sure your thread did not tangle or catch other parts of the fabric that it was not supposed to catch. If your thread seems prone to tangling, use a candle or bit of wax and run it up and down your thread while held to make it slick.
- Your next stitch should go back down into the same side of the fabric that your needle just came out of, entering the fabric about half a centimeter or less from where your thread came out. Check the other side of the fabric before you pull your needle all the way through to make sure all is aligned properly. Keep your fingers near where you expect your needle to come through, and make sure you do not accidentally sew your fabric to your clothing, armchair, or tablecloth (by keeping your fingers in between your work surface and the cloth, you can easily prevent this from happening).
- Continue each stitch as before, always entering the fabric on the same side you came out of, pulling the needle through once it reaches the next side, and checking to make sure your thread is not tangling or stitching extra folds into the fabric.
How to End Your Thread or Finish Stitching
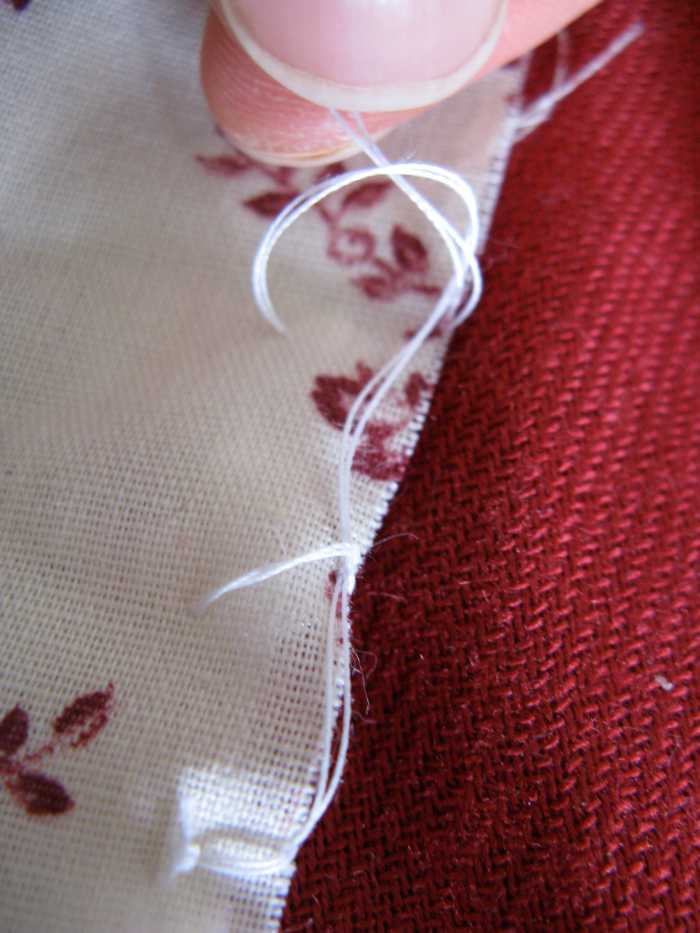
Once you have reached the end of your line of necessary stitches, knot the thread again by pushing the needle part-way through the wrong side of the fabric and then back up through the right side of the fabric so that the needle both enters and exits the cloth on the wrong side of the fabric. Then take the end of the thread farthest away from the eye of the needle and wrap it three times around the sharp end of the needle, keeping your thread tight.
With one hand, pinch the needle tightly to the cloth at the spot where the thread is wound around itself, then pull the needle all the way out, keeping the tangled knot close to the fabric. Use your fingernail to finish the knot, making it tight to the fabric. Cut off the excess thread.
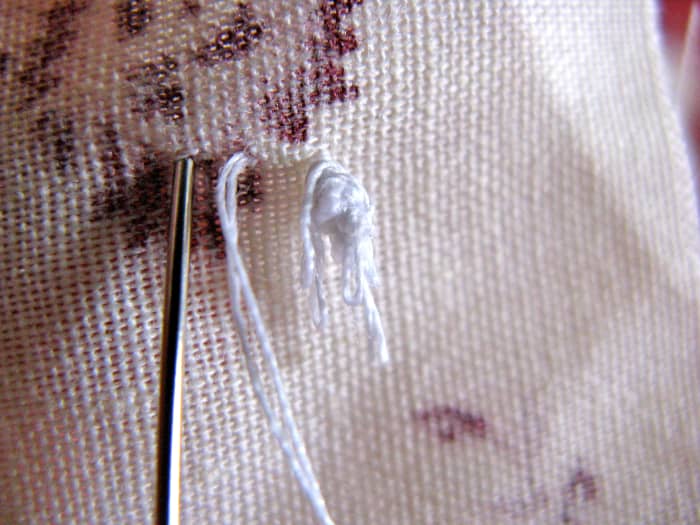
After your final stitch, put your needle part way through as if you are going to do another stitch, but don't pull the needle all the way through.
Twist the thread that comes directly out of the cloth (not the end coming out of the eye of the needle) around the sharp end of the needle.

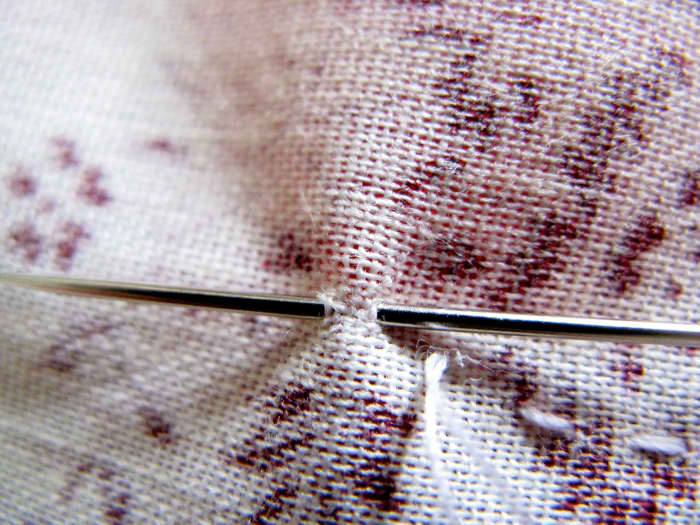
Hold the needle down with one hand as you pull it all the way through with your other hand.

Pull the thread until it tightens around a knot close to the fabric.


Beginning a whip stitch.
A finished whip stitch.
Beginning a blanket stitch.

A finished blanket stitch.
Four Stitch Variations
1. Running Stitch or Continuous Stitch
- This type of stitch is very similar to the simple basting stitch mentioned above, except that it backtracks over itself, so the stitching line on each side is continuous, with no breaks.
- To make this stitch, start by making a regular stitch, but make it twice as big as usual. For your next stitch, push your needle through the same side of your fabric that you came out of, but make your needle come up through the center of your first stitch. Your next stitch should extend twice as far again and beyond your first stitch. Continue in the same manner, bringing your needle up through the middle of the stitch before it, and extending your next stitch twice as far as the previous one.
- This is the sturdiest and prettiest stitch you could make, as it most closely imitates a machine stitch.
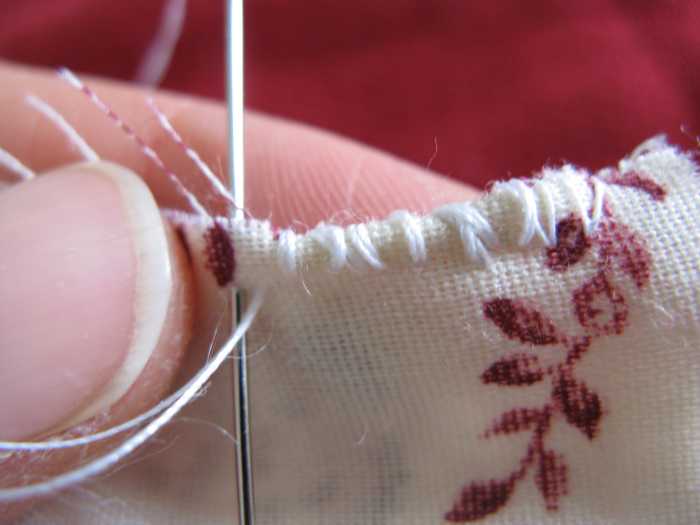
2. Whip Stitch
- This stitch is used on the edge of your fabric and circles or "whips" around the edge.
- To do this, start your stitch like the normal basting stitch, but begin your line of stitches at about a half-centimeter away from the edge of the fabric. For your next stitch, enter the fabric on the opposite side of the fabric, the same distance away from the edge. Your thread will loop around the edge of the fabric and curl the fabric's edge to itself as you tighten the thread. Continue an even distance away from the edge of the fabric in a straight line of stitching.
3. Blanket stitch
- This stitch is similar to the whip stitch, but instead of evenly looping around the edge, your thread will travel along the edge of the fabric, dipping down every now and then to catch the fabric again.
- The blanket stitch is normally used to finish off or hem blankets made of fleece or flannel and usually uses thicker thread, such as embroidery thread or yarn, often in a contrasting color to the fabric.
- To make the blanket stitch, do a whip stitch, but before you pull the thread tight, put your needle through the loop of thread that goes over the edge of the fabric, so you almost create a regular shoelace knot at the edge of the fabric. Then pull your thread tight and start another stitch the same way.
4. Sewing a Button
- This uses the basic stitch mentioned above, but every time the thread comes up or goes down, it should go through a hole in the button.
- Come up through each hole in the button evenly, and make sure that you have gone through the button and the fabric at least five times before you knot your thread.
- To finish off and knot the thread, wind the thread around the base of the button three or more times, then push the needle through the thickness of the thread at the base of the button so it comes out at the wrong side of the fabric. Make a small stitch in the fabric at the base of the button on the underside of your fabric and put a normal finishing knot in place.
© 2009 Jane Grey
Comments
Ammu on July 28, 2019:
I like it
Haj on June 13, 2017:
Pls give step by step pictures for blouse cutting
Krithika on July 01, 2015:
Its wonderful. Thanks alart
Ann Leavitt (author) from Oregon on January 30, 2010:
Hi RTalloni! I hope my title isn't misleading! :) Would you suggest I change it?
RTalloni on January 30, 2010:
Very nice. I was surprised because I thought your title would send me on a writing exercise to stitch a story together. :)
Maria Teresa Rodriguez - Laurente from San Antonio, Texas, U.S.A. on December 31, 2009:
Wow, very detailed. The pictures guides clearly!
More power.
Rose West from Michigan on December 30, 2009:
Very well-pu-together guide! I learned some new things! Sewing can be a lot of fun, especially if you have a friend to help you with it :)
Ann Leavitt (author) from Oregon on December 29, 2009:
Thank you, Mr. Quill! She probably knows all of this already; she sounds like a lovely and accomplished lady. Give her my greetings and best wishes!
Jane
"Quill" on December 29, 2009:
Hi Jane...well Quill would have sewn all his fingers together by now but I will print this and pass it along to Mrs. Quill...she will love it.
Many Blessings